
How to Build an Email List from Scratch
by Editor
How to Build an Email List from Scratch: A Beginner’s Step-by-Step Guide
In the rapidly evolving world of digital marketing, trends come and go with dizzying speed. Social media platforms rise to dominance and then fade into obscurity; algorithms change overnight, wiping out organic reach for even the most established brands. However, amidst this volatility, one tool has remained the undisputed king of return on investment (ROI) and audience ownership: the email list.
If you are a beginner looking to build a sustainable online presence, whether for a blog, an eCommerce store, or a service-based business, building an email list is the single most important task you can undertake. This guide will walk you through the entire process, from understanding the core concepts to sending your first automated sequence. By the end of this article, you will have a comprehensive roadmap to growing a loyal, engaged audience that you—and only you—control.
What Is an Email List? (Beginner Basics)
At its simplest level, an email list is a collection of names and email addresses of individuals who have given you explicit permission to send them updates, promotions, and information about your business or brand. It is essentially a database of “leads” or potential customers who have raised their hand and said, “I want to hear more from you.”
Types of Email Lists
Not all email lists serve the same purpose. Depending on your goals, you might manage several different categories:
-
Newsletter Lists: These are focused on providing regular value. They usually include weekly tips, industry news, curated links, or personal updates. The goal here is long-term brand awareness and authority.
-
Promotional Lists: These are used primarily for sales. When you have a product launch, a seasonal sale, or a special discount, these emails go out to drive immediate revenue.
-
Transactional Lists: These include customers who have already purchased from you. These emails include receipts, shipping updates, and follow-up support. While they are functional, they are also a great place to build further loyalty.
The Concept of Permission-Based Marketing
The most important rule of email marketing is that it must be permission-based. This isn’t just about ethics or legality; it’s about effectiveness. An email list built through “opt-ins”—where a user actively signs up—is infinitely more valuable than a list of bought addresses. When someone invites you into their inbox, they are signaling trust. If you abuse that trust by sending irrelevant content or “spamming” them, they will leave. In the world of email, your reputation is your most valuable currency.
Why Building an Email List Is Important
Many beginners ask: “Why do I need email when I have Instagram, TikTok, or a blog?” The answer lies in three critical areas: ownership, conversion, and stability.
You Own Your Audience
When you build a following on a social media platform, you are essentially “renting” space on someone else’s land. If the platform decides to shut down your account or changes its algorithm to favor paid content over organic posts, your access to your audience can vanish in an instant. With an email list, you own the data. You can export your list of subscribers and move to any service provider you choose. It is a portable asset.
Higher Conversion Rates
Studies consistently show that email marketing outperforms social media in terms of sales. While social media is great for brand awareness and “discovery,” email is where the actual selling happens. People check their email with a different mindset than they check social media; they are often more focused and prepared to take action. According to various industry benchmarks, for every $1 spent on email marketing, the average return is roughly $36 to $42. No other platform offers that kind of leverage for a beginner.
Protection Against Algorithm Changes
Search engines and social networks change their “rules” constantly. A website that ranks #1 on Google today might drop to page five tomorrow due to a core update. An email list provides a safety net. No matter what happens with SEO or social media trends, you can always send an email and generate traffic and revenue instantly. It is the ultimate insurance policy for your online business.
Step 1: Define Your Target Audience
The biggest mistake a beginner can make is trying to build a list for “everyone.” A list of 100 people who are perfectly aligned with your niche is worth more than a list of 10,000 people who have no interest in what you do.
Niche Clarity
Before you set up a single form, ask yourself: Who am I trying to help? If you are a fitness coach, are you helping busy moms lose weight, or are you helping professional athletes improve their performance? These two groups have very different needs. If you try to speak to both simultaneously, your message will be diluted and interest neither.
Creating an Audience Persona
To visualize your target subscriber, create a simple persona. Consider the following:
-
Demographics: Age, location, job title, and income level.
-
Pain Points: What keeps them up at night? What is their biggest struggle right now?
-
Goals: What do they want to achieve in the next six months?
-
Objections: Why haven’t they solved their problem yet? Is it a lack of time, money, or knowledge?
By narrowing your focus, your messaging becomes sharper. When a potential subscriber reads your sign-up form and thinks, “Wow, this person is talking directly to me,” your “opt-in” rates will skyrocket.
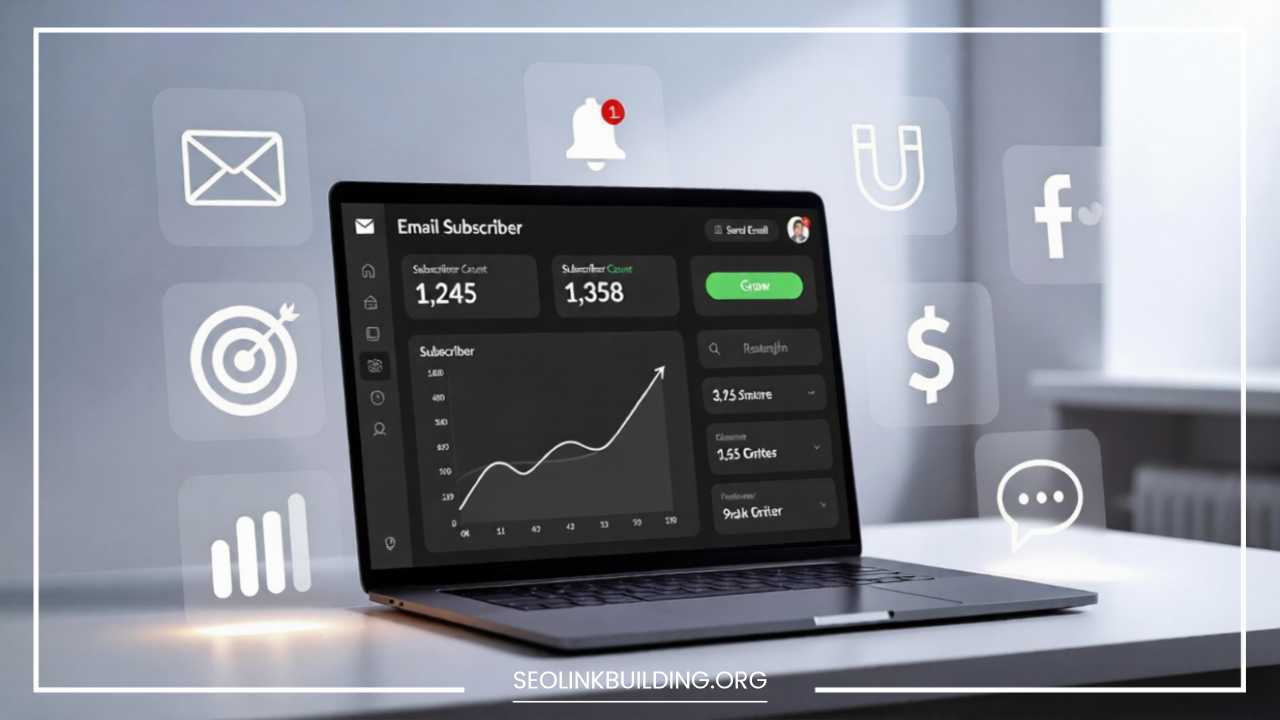
Step 2: Choose an Email Marketing Platform
You cannot (and should not) use your personal Gmail or Outlook account to build an email list. To stay legal and manage large volumes of mail, you need an Email Service Provider (ESP).
What to Look For
As a beginner, you don’t need the most expensive, complex enterprise software. Look for these core features:
-
Automation: The ability to send an automatic “Welcome” email when someone signs up.
-
Ease of Use: A drag-and-drop editor for designing emails and forms.
-
Templates: Pre-designed layouts so you don’t have to learn code or graphic design.
-
Segmentation: Tools to group your subscribers based on their interests or actions.
-
Deliverability: You want a provider that has a good reputation so your emails actually land in the inbox, not the spam folder.
Beginner-Friendly Tools
-
MailerLite: Widely considered the best for beginners due to its clean interface and generous free plan.
-
ConvertKit (now Kit): Built specifically for creators, bloggers, and YouTubers. It makes managing multiple lead magnets very easy.
-
Mailchimp: The most famous option. It has a great mobile app, though it can become quite expensive as your list grows.
-
AWeber: A solid, reliable “workhorse” that has been around for decades and offers excellent customer support.
Step 3: Create a Lead Magnet (Critical Section)
Most people will not give you their email address just because you ask for it. Their inbox is already crowded. You need to offer them an incentive—a Lead Magnet. This is a free piece of value that you exchange for their contact information.
What Makes a Great Lead Magnet?
A high-converting lead magnet solves a specific problem quickly. It should be “snackable.” If it takes three hours to read or watch, people will put it off and never finish it. You want them to consume it, get a “win,” and think, “If this was the free stuff, imagine how good the paid stuff is!”
Popular Types of Lead Magnets
-
Checklists: These are incredibly popular because they are highly actionable. Example: “The Ultimate 20-Point SEO Checklist for New Bloggers.”
-
Templates: Save people time. Example: “5 Copy-and-Paste Email Templates for Pitching Clients.”
-
eBooks or Guides: Best for educational niches. Keep it focused on one specific topic rather than a broad overview.
-
Resource Lists: A “Toolbox” of your favorite apps, books, or gear.
-
Free Courses: A 3-day or 5-day email course delivered over several days. This is great for building a long-term habit of opening your emails.
-
Discounts/Coupons: Essential for eCommerce. “Get 10% off your first order when you join our VIP list.”
-
Quizzes: Highly engaging. Users answer questions and must enter their email to see their results.
Tips for High-Converting Lead Magnets
-
Focus on the Headline: The name of your lead magnet is 80% of the battle. “How to Garden” is boring. “7 Secrets to Growing Giant Tomatoes in Small Pots” is a magnet.
-
Professional Packaging: Even a simple PDF should look clean. Use a tool like Canva to create a nice cover page and a readable layout.
-
Instant Gratification: Ensure the delivery happens immediately after they confirm their email.
Step 4: Build High-Converting Opt-In Forms
An opt-in form is the “gateway” to your list. It is the box where people enter their name and email. Where you place these forms and how they look will determine your growth rate.
Types of Forms
-
Popups: These appear over the content after a certain amount of time or when a user scrolls down. While some find them annoying, they are statistically the most effective way to grow a list.
-
Exit-Intent Popups: These only appear when the user’s mouse moves toward the “close” or “back” button on their browser. It’s your “Wait, before you go!” offer.
-
Inline/Embedded Forms: These sit inside your blog posts or on your homepage. They are less intrusive and work well for people who are actually reading your content.
-
Floating Bars: Small strips at the top or bottom of your website that stay visible as the user scrolls.
Best Practices for Design
-
Minimize Fields: Every extra field you add (Last Name, Phone Number, Job Title) will lower your conversion rate. For beginners, just “First Name” and “Email” is the sweet spot.
-
Use Visuals: Show a picture of your lead magnet (e.g., a mockup of an eBook on a tablet). It makes the offer feel more “real.”
-
Clear Call to Action (CTA): Don’t use “Submit.” Use action-oriented phrases like “Send Me My Checklist,” “Get Instant Access,” or “Join the Club.”
Step 5: Create a Landing Page
While opt-in forms on your website are great, a Landing Page (also known as a Squeeze Page) is a dedicated page with one single goal: getting the visitor to sign up for your list.
Why You Need a Landing Page
A landing page has no navigation menus, no sidebars, and no distractions. It focuses 100% on the lead magnet. You will use this specific link when you promote your list on social media, in YouTube descriptions, or in guest blog posts. Because there is nothing else to do on the page except sign up or leave, the conversion rates are usually much higher than a standard website page.
Key Elements of a Successful Landing Page
-
The Hook (Headline): A bold statement that promises a result.
-
The Why (Subheadline): A brief explanation of what the visitor will get and why it matters.
-
The Benefits (Bullet Points): 3 to 5 points highlighting what’s inside the lead magnet. Focus on outcomes, not features. Instead of “30 pages of text,” say “30 pages of strategies to double your productivity.”
-
Social Proof: If you have it, include a testimonial from someone who used your guide. If you’re just starting, you can skip this, but add it as soon as possible.
-
The Form: Keep it above the “fold” (the part of the screen visible without scrolling).
Step 6: Drive Traffic to Your Opt-In
Now that your “funnel” is set up—you have a lead magnet, a form, and a landing page—you need to pour traffic into it.
Free (Organic) Methods
-
Content Marketing: Write blog posts that solve problems related to your lead magnet. At the end of every post, include a CTA to download the freebie.
-
Social Media Bios: Your link in your Instagram, TikTok, or Twitter bio should almost always point to your landing page, not your homepage.
-
YouTube: Create educational videos and mention your lead magnet in the first 60 seconds and again at the end.
-
Guest Blogging: Write for other established websites in your niche. In your author bio, link to your landing page.
-
Podcast Guesting: When you are interviewed on podcasts, give out a “easy-to-remember” URL where listeners can get your free resource.
Paid Methods
-
Facebook/Instagram Ads: You can target people based on very specific interests. Spending even $5 a day can help a beginner see immediate growth.
-
Search Ads: Target people who are actively searching for a solution on Google. If they search for “how to keto diet,” and you have a “7-Day Keto Meal Plan” lead magnet, you have a perfect match.
Step 7: Set Up a Welcome Email Sequence
The moment someone signs up for your list is when they are most interested in you. Do not waste this opportunity! You should have an automated “Welcome Sequence” (also called an Autoresponder) ready to go.
Why First Impressions Matter
If someone signs up and doesn’t hear from you for three weeks, they will likely forget who you are. When you finally do email them, they might mark you as spam because they don’t recognize the sender. The welcome sequence builds a bridge of trust.
A Proven 5-Email Welcome Structure
-
Email 1 (Immediate): Deliver the lead magnet. Express gratitude. Tell them exactly what to expect from your emails (e.g., “I’ll be in your inbox every Tuesday with tips”).
-
Email 2 (Day 1): The “Who Am I” email. Share your story, your struggles, and why you started this business. Make yourself relatable.
-
Email 3 (Day 3): Deliver extra value. Give them a “bonus” tip that wasn’t in the lead magnet. Show them you are generous with your knowledge.
-
Email 4 (Day 5): The “Question” email. Ask them, “What is the #1 thing you are struggling with right now?” When they reply, it boosts your email deliverability and gives you great ideas for future content.
-
Email 5 (Day 7): The “Soft Sell.” Introduce your main product or service as the natural “next step” to help them achieve their goals.
Step 8: Write Engaging Emails
Once the welcome sequence is over, you enter the “nurture” phase. This is where you maintain the relationship so that when you eventually have something to sell, the audience is ready to buy.
Subject Lines: The Gatekeeper
If your subject line fails, your email fails.
-
Curiosity: “I can’t believe this worked…”
-
Urgency: “Only 4 hours left to grab this.”
-
Directness: “Your free training is inside.”
-
Avoid All Caps: Writing in ALL CAPS or using too many exclamation points (!!!) can trigger spam filters and look unprofessional.
The Anatomy of a Good Email
-
The Hook: Start with a story or a surprising fact to grab attention.
-
White Space: Use short sentences and short paragraphs. People “scan” emails; they don’t read them like novels.
-
Personalization: Use “merge tags” to include the subscriber’s first name.
-
The One Goal: Every email should have one—and only one—desired action. Whether it’s clicking a link, replying, or buying a product, don’t confuse the reader with too many options.
Step 9: Segment Your Email List
As your list grows from 100 to 1,000 to 10,000, you will realize that your audience is not a monolith. They have different interests, skill levels, and buying habits.
What is Segmentation?
Segmentation is simply grouping your subscribers based on data. For example, if you run a cooking blog, you might segment your list into “Beginner Cooks” and “Advanced Chefs.” You wouldn’t want to send a “How to Boil an Egg” email to the chefs.
How to Segment
-
By Lead Magnet: Tag them based on what they downloaded.
-
By Engagement: Create a segment for “Super Fans” (those who open every email) and a separate one for “Lapsed Subscribers” (those who haven’t opened in 90 days).
-
By Purchase History: Group people who have already bought from you so you can send them exclusive customer-only offers.
Segmentation leads to higher open rates because the content is more relevant to the individual.
Step 10: Stay Consistent (Content Strategy)
The fastest way to kill an email list is to be inconsistent. If you email five times in one week and then disappear for two months, you will lose the trust of your audience.
Choosing a Frequency
There is no “perfect” number, but for beginners, once a week is usually the sweet spot. It’s frequent enough to stay top-of-mind but not so frequent that it becomes a chore for you to write or for them to read.
Content Ideas to Keep Your List Warm
-
Educational Tips: “How to [Action] in [Timeframe].”
-
Personal Stories: What did you learn this week?
-
Industry News: Curate the most important news in your niche and explain why it matters to your readers.
-
Myth Busting: Take a common belief in your niche and explain why it’s wrong.
-
Case Studies: Show how a client or a student achieved a specific result.
Common Mistakes to Avoid
Even seasoned marketers stumble. Avoid these common beginner pitfalls:
-
Not Emailing Often Enough: Many beginners are afraid of “bothering” people. If your content is valuable, people want to hear from you.
-
Focusing on Quantity over Quality: A list of 500 engaged fans is better than 5,000 people who never open your emails.
-
Ignoring Mobile Users: Always send a “test email” to yourself and check it on your phone. If the text is too small or the images don’t load, your subscribers will delete it.
-
No Clear Unsubscribe Link: Don’t try to hide the unsubscribe button. If someone wants to leave, let them. It keeps your list “clean” and ensures you aren’t paying for subscribers who aren’t interested.
-
Hard-Selling Too Soon: Build the relationship first. Provide value before you ask for the sale.
Legal & Compliance Basics
Email marketing is not the Wild West. There are laws designed to protect consumers, and you must follow them.
-
CAN-SPAM Act (USA): Requires you to include a physical address in your emails and a clear way to unsubscribe.
-
GDPR (Europe): Requires explicit consent from users in the EU. This usually means having a checkbox on your form that isn’t pre-checked.
-
CASL (Canada): Similar to CAN-SPAM, requiring consent and identification.
Most modern Email Service Providers (like the ones mentioned in Step 2) have built-in features to help you stay compliant, but it is your responsibility to ensure you are following the rules for your specific region and the regions of your subscribers.
Tools & Resources for Growth
To summarize the technical side of your journey, here is a “Success Stack” for list building:
-
ESP (The Engine): MailerLite or Kit.
-
Design (The Visuals): Canva for lead magnets and headers.
-
Landing Pages (The Destination): Use the built-in builders in your ESP or a dedicated tool like Carrd for a sleek, one-page look.
-
Headlines (The Hook): Use a free headline analyzer tool to check the emotional impact of your subject lines.
-
Analytics: Pay attention to your “Open Rate” (aim for 25% or higher) and your “Click-Through Rate” (aim for 2-5%).
Final Thoughts
Building an email list from scratch is a marathon, not a sprint. It can feel discouraging in the beginning when you’re celebrating your first ten subscribers—half of whom might be your family members. But remember: every major brand and successful influencer started exactly where you are.
The power of an email list lies in its compounding nature. As you continue to create content, participate in communities, and provide value, your list will grow. And as it grows, your business gains more stability, more freedom, and more profit.
Don’t wait until you have a “perfect” product or a “perfect” website. The best time to start was yesterday. The second best time is today. Pick a platform, create a simple checklist lead magnet, and put that first sign-up form live. Your future self will thank you for the asset you began building today.